Why Your Grilled Chicken Dries Out Every Time and How To Fix It
Dry grilled chicken is the most common heartbreak of summer cooking, and I want you to know it is completely fixable. The problem is almost never your grill, your charcoal, or your skill. It comes down to a few habits that quietly sabotage juicy chicken before the lid ever closes. I dried out more chicken breasts than I care to admit before I learned what was actually going wrong. Once you understand the why, the fix takes about five extra minutes and zero fancy equipment. Let me walk you through it the way I wish someone had walked me through it years ago.
Why Grilled Chicken Dries Out on the Grill
Chicken breast is one of the leanest proteins you can put over fire, and lean meat has no fat to protect it. Fat bastes meat from the inside as it cooks; chicken breast simply does not have that insurance. That means every degree of heat and every minute of time matters far more than it does with a ribeye or pork shoulder. When you understand the three main culprits, you can spot them in your own routine immediately. Here is what is actually stealing your moisture.
High Direct Heat Is Why Grilled Chicken Dries Out
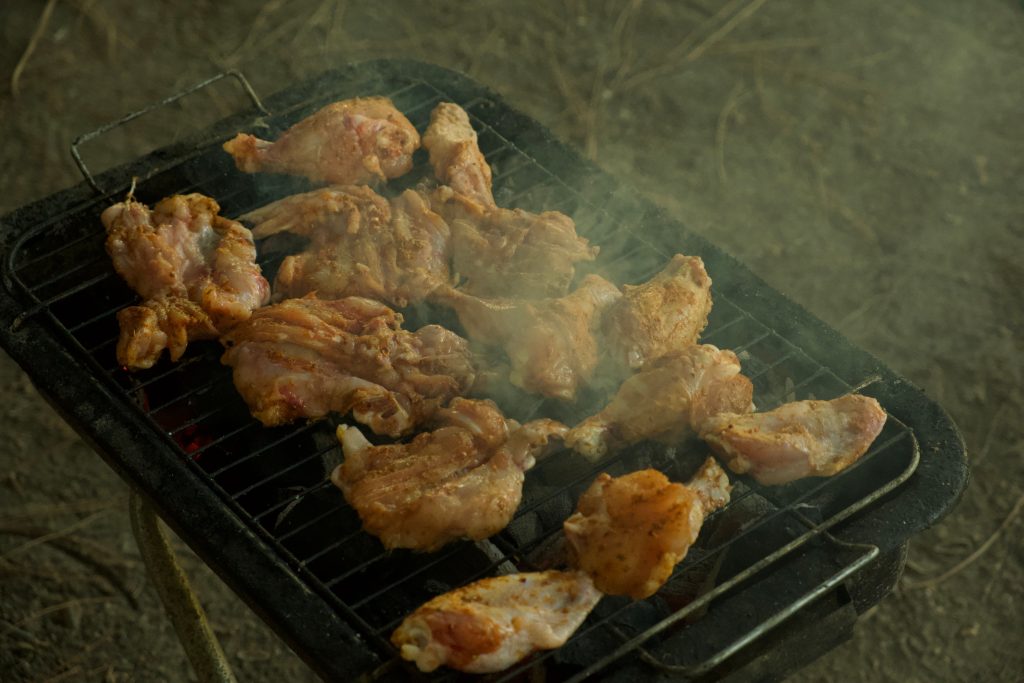
Blasting chicken over roaring flames feels right; it looks like grilling in a commercial. In reality, aggressive direct heat squeezes muscle fibers like a sponge, and all that moisture ends up sizzling on your coals instead of staying in the meat. The outside chars and tightens long before the center is safe to eat. So you keep cooking, and the outer layers turn to chalk.
There is also a shape problem working against you. A chicken breast is thick at one end and thin at the other, so the skinny tip finishes minutes before the fat end. Over high heat, that gap gets worse, not better. You end up sawdust on one side and barely done on the other.
Flare ups pile on more damage. Dripping juices ignite, flames lick the surface, and you get bitter soot instead of golden color. Every flare up is moisture leaving the chicken and burning in front of you. High heat has a place in grilling, but it needs a partner, and I will show you that partner shortly.
Skipping the Brine Is Why Grilled Chicken Dries Out
Unseasoned, unbrined chicken starts the fight for juiciness with one hand tied behind its back. Salt is not just flavor; it physically changes the protein structure so the meat holds onto water during cooking. When salt has time to penetrate, muscle fibers loosen and trap moisture like a sponge that refuses to be wrung out. Skip that step and the chicken releases its juices at the first sign of heat. This is the single biggest difference between backyard chicken and restaurant chicken.
Most home cooks season chicken thirty seconds before it hits the grate. At that point, the salt is sitting on the surface doing almost nothing for the interior. It cannot travel that fast; salt needs at least forty five minutes, and it truly shines overnight. A last minute sprinkle gives you a salty exterior wrapped around a bland, unprotected center.
Marinades get misunderstood in the same way. A quick twenty minute bath in Italian dressing adds surface flavor, but the salt has not had time to do its structural work. Acidic marinades left too long create the opposite problem, turning the surface mushy while the inside stays dry. Timing the salt is the real secret, and it costs nothing.
Overcooking Past Temperature Is Why Grilled Chicken Dries Out
Fear is the final culprit, and I say that with love. Undercooked chicken is genuinely scary, so we cook it longer, then a little longer, then a few minutes more for peace of mind. Every one of those extra minutes wrings moisture out of the meat. Chicken at 165°F is safe and juicy; chicken at 185°F is safe and sad.
The poke test and the cut test both fail you here. Poking tells you almost nothing reliable, and cutting into the breast on the grill lets precious juices pour straight onto the coals. Color lies too; chicken can look pearly white outside while the center lags behind. Guessing games always end in overcooking, because fear pushes us to add time.
Carryover cooking makes it even sneakier. Chicken keeps climbing five degrees or more after it comes off the grate. So a breast pulled at exactly 165°F is actually finishing near 170°F on your cutting board. Pull it when you think it is perfect, and it quietly overcooks while it rests.
How To Fix Dry Grilled Chicken With Three Simple Techniques
Now for the good news: fixing dry grilled chicken requires no new gear beyond a fifteen dollar thermometer. The three techniques below attack the three problems directly, and they stack together beautifully. Brining protects the moisture, two zone heat controls the cooking, and temperature checks remove the guesswork. I use all three every single time I grill chicken, and I have not served a dry breast in years. Each one takes minutes to learn.
Brine Chicken To Fix Dry Grilled Chicken
A basic wet brine is a quarter cup of kosher salt dissolved in one quart of cold water. Submerge your chicken breasts for thirty minutes to two hours, then pat them completely dry before grilling. That short soak seasons the meat throughout and helps it retain noticeably more moisture over the fire. It is the closest thing to insurance a lean cut can get. If you want a full flavor version with sugar and aromatics, click here for my go to chicken brine recipe.
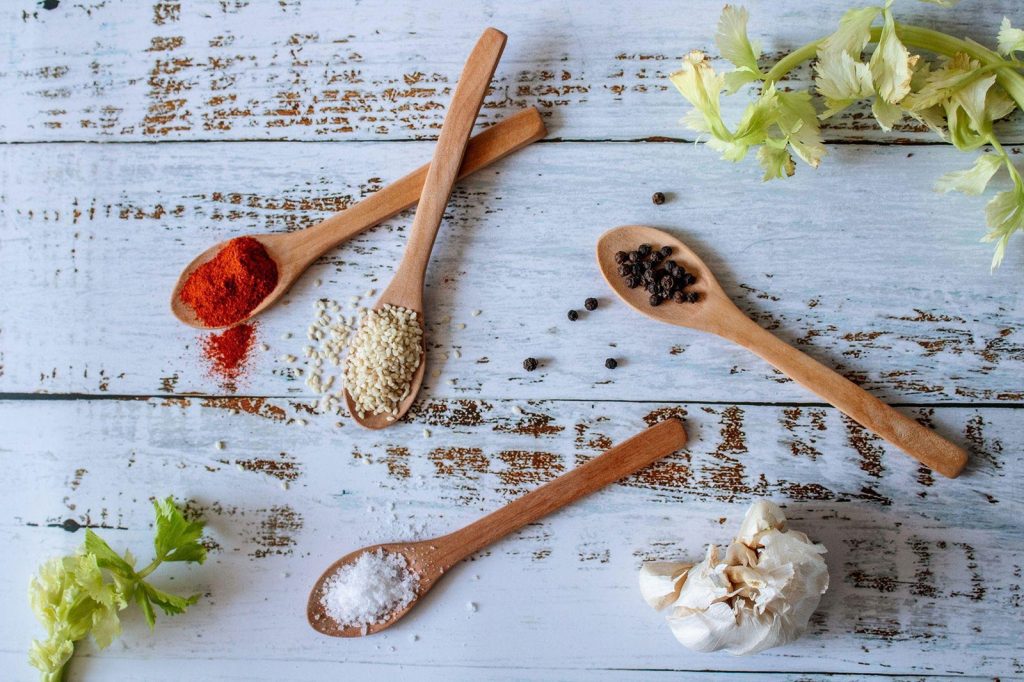
Dry brining is even easier and my personal favorite. Sprinkle kosher salt evenly over the chicken, set it uncovered on a rack in the fridge, and walk away for at least forty five minutes or up to a full day. The salt draws moisture out, dissolves, and then gets pulled back in, seasoning deep into the meat. Bonus: the surface dries out, and a dry surface browns beautifully.
One more move belongs in this step: pound the breasts to even thickness. Place them in a zip top bag and flatten the thick end with a skillet until the whole breast is about three quarters of an inch thick. Now the entire piece finishes at the same moment. Uneven chicken cooks unevenly no matter how skilled you are, so fix the shape before you fix the fire.
Use Two Zone Heat To Fix Dry Grilled Chicken
Two zone grilling means building a hot side and a cooler side. On charcoal, bank the coals to one half of the grill; on gas, light one side high and leave the other burners low or off. This gives you a searing zone and a gentle finishing zone in the same grill. It is the setup professionals use for almost everything, and it takes no extra time.
Start the chicken on the cooler side with the lid closed. Gentle, indirect heat cooks it evenly from edge to center without squeezing out the juices. When it reaches about 150°F inside, slide it over the hot zone for two to three minutes per side. You get gorgeous grill marks and golden color right at the finish line.
This method also solves flare ups almost entirely. Any dripping fat lands on the cool side where there are no flames waiting to ignite it. If a flare up does start during the sear, just slide the chicken back to safety for a moment. You are in control of the fire instead of reacting to it.
Use a Thermometer To Fix Dry Grilled Chicken
An instant read thermometer is the cheapest kitchen upgrade with the biggest payoff. Slide the probe into the thickest part of the breast, avoiding bone if you are grilling thighs or drumsticks. The number tells you the truth in three seconds; no poking, no cutting, no praying. Cook to temperature, never to time, because every grill and every breast is different.
Here is my exact target: pull chicken breasts at 160°F and let carryover heat carry them to a safe 165°F while they rest. Thighs are more forgiving and actually improve up around 175°F to 185°F, where their connective tissue melts into silkiness. Learn those two numbers and you will never serve dry or undercooked chicken again. Write them on a sticky note by the grill if it helps.
Then comes the rest, and please do not skip it. Give the chicken five full minutes on a cutting board before slicing. The juices redistribute throughout the meat instead of flooding out the moment your knife touches it. Resting is free flavor; all it costs is patience.
Bringing Juicy Grilled Chicken Together in Your Backyard
You now have the full playbook: brine for protection, two zone heat for control, and a thermometer for certainty. None of these steps is complicated, and together they turn chicken from the riskiest thing on the grill into the most reliable. The best part is how quickly this becomes automatic. After a few cookouts, you will do all of it without thinking, the same way you buckle a seatbelt. Let me show you how I put it all together on a real summer evening.
A Simple Juicy Grilled Chicken Routine for Busy Nights
My weeknight routine starts in the morning or at lunch. I salt the chicken, set it on a rack in the fridge, and forget about it until dinner. That is the entire prep; the salt does the work while I do my day.
An hour before eating, I light a two zone fire and pull the chicken out to lose its chill. Room temperature meat cooks more evenly than cold meat straight from the fridge. Fifteen to twenty minutes on the counter is plenty.
Then it is indirect heat, a quick sear at the end, and a five minute rest. Start to finish, active grilling takes under twenty five minutes. If you want a flavor packed version of this exact method, click here for my lemon herb grilled chicken recipe.

Resting and Slicing Juicy Grilled Chicken the Right Way
Rest the chicken on a cutting board, loosely covered if the evening is cool. Tenting tightly with foil steams the surface and softens that sear you worked for, so keep it loose. Five minutes is the sweet spot for breasts.
Slicing direction matters more than most people realize. Cut across the grain, meaning perpendicular to the direction the muscle fibers run. Shorter fibers mean a more tender bite, even from the same piece of meat.
Slice on a slight angle for wider, prettier pieces. Fan them over the plate and spoon any resting juices right back on top. Those juices are concentrated flavor; never let them go to waste on the board.
Serving Juicy Grilled Chicken All Summer Long
Juicy grilled chicken is the most flexible protein of the season. Slice it over salads, tuck it into tacos, or pile it onto sandwich rolls with a swipe of mayo. One grilling session can feed you for days.
I like to grill a double batch on Sunday for exactly this reason. Properly brined chicken stays moist in the fridge for three to four days, which most grilled chicken cannot claim. Meal prep gets a lot more appealing when the protein actually tastes good cold.
Round out the plate with something bright from the same fire. Need an easy side? Click here for my charred corn and tomato salad recipe. Then invite somebody over, because chicken this good deserves a witness.