The Right Way to Cut a Peach Without Making a Mess
Every July, I watch people mangle perfectly ripe peaches over the kitchen sink. Juice runs down their arms, the flesh tears into ragged chunks, and half the fruit stays welded to the pit. I did the same thing for years, and I assumed messy peaches were just the price of summer. They are not. Cutting a peach cleanly comes down to picking the right fruit, using the right knife path, and knowing one trick for stubborn pits. Five minutes of technique turns peach season from sticky chaos into clean, beautiful slices.
How To Cut a Peach Cleanly Every Time
Clean peach cutting starts before the knife ever touches the fruit. The variety, the ripeness, and the first cut you make determine everything that follows. Most peach disasters happen because people treat every peach the same, when freestone and clingstone fruit behave like two different species. Learn to read the peach in your hand and the mess mostly disappears. Here is the full method, step by step.
Choosing Freestone Peaches Makes Cutting a Peach Easier
Peaches come in two types, and the pit is the difference. Freestone peaches release their pit easily, like an avocado giving up its seed. Clingstone peaches grip the pit with stubborn flesh fibers, and no knife technique fully overcomes that grip. If your peaches always fall apart, the fruit may be the problem, not you.
Most peaches at grocery stores and farm stands from July onward are freestones, which is good news. Early season peaches in May and June tend to be clingstones. Ask the farmer if you are unsure; they will know instantly. Clingstones taste wonderful, but they belong in jam and cobbler where appearance does not matter.
Ripeness matters just as much as variety. A ripe peach smells sweet at the stem, gives slightly under gentle pressure, and shows no green near the shoulders. Rock hard peaches will not release the pit no matter what you do. Let firm fruit ripen on the counter for a day or two before cutting.
The Pole to Pole Cut Is the Right Way To Cut a Peach
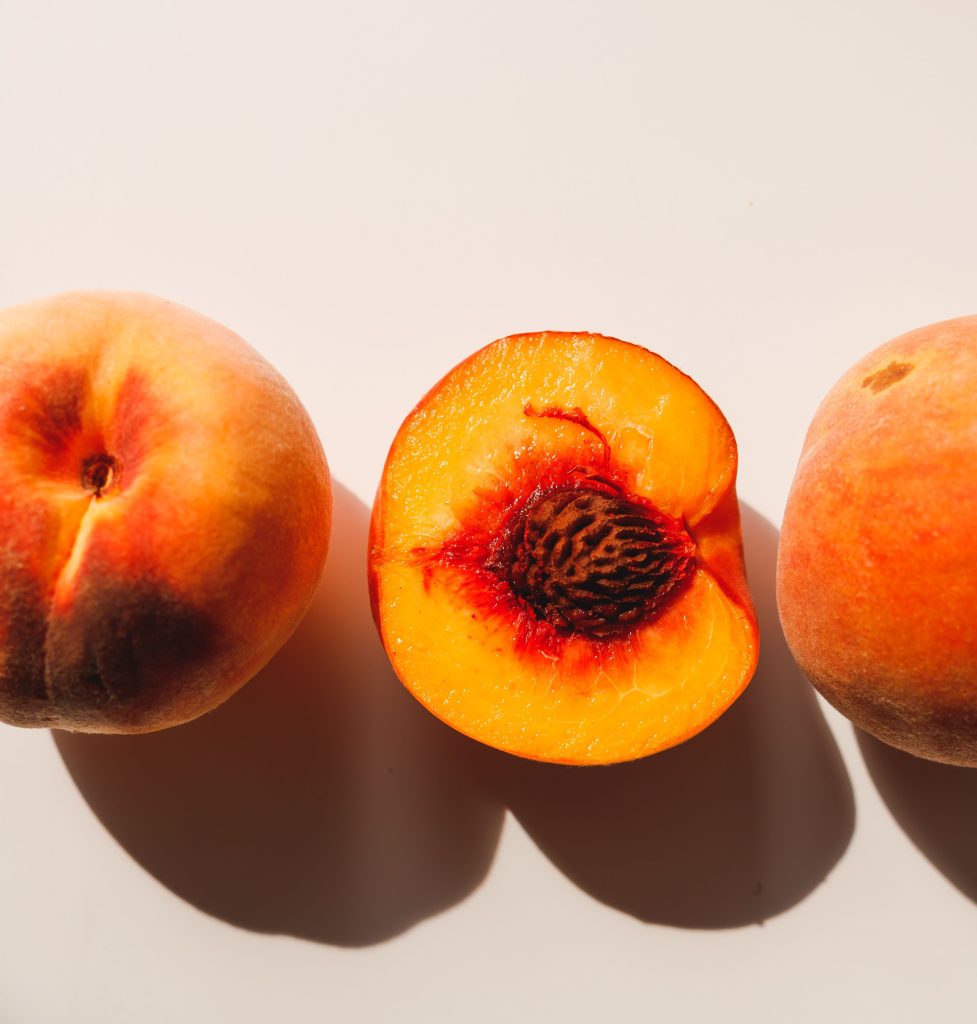
Start by finding the seam, the natural crease that runs from stem to tip down one side. That seam marks the plane of the pit. Place your knife directly in the seam and cut all the way around the peach from pole to pole, letting the blade ride against the pit the whole way. You are tracing a full circle, exactly like cutting an avocado.
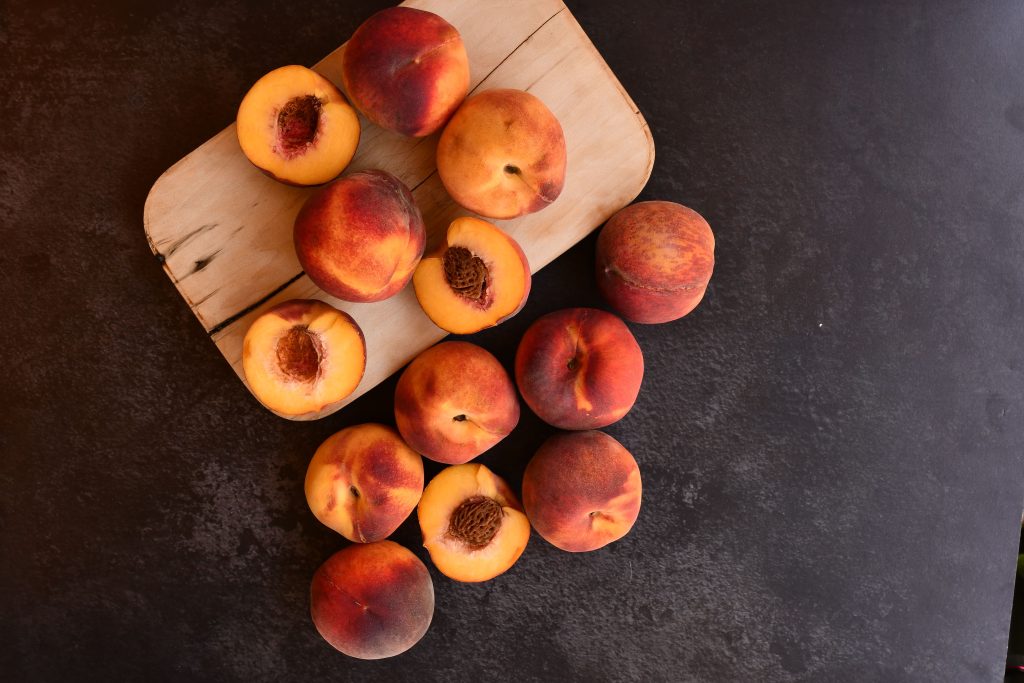
Now hold one half in each hand and twist gently in opposite directions. A ripe freestone will pop apart with a soft release, leaving the pit sitting in one half. Pluck the pit out with your fingertips or flick it free with the tip of a spoon. No digging, no gouging, no lost flesh.
Use a sharp paring knife or a small serrated knife for this job. Peach skin is slick and surprisingly tough, and a dull blade slides and crushes instead of cutting. A serrated edge bites through the skin instantly with almost no pressure. Less pressure means less bruising and less juice on your counter.
Slicing and Cutting a Peach Into Wedges Without Crushing It
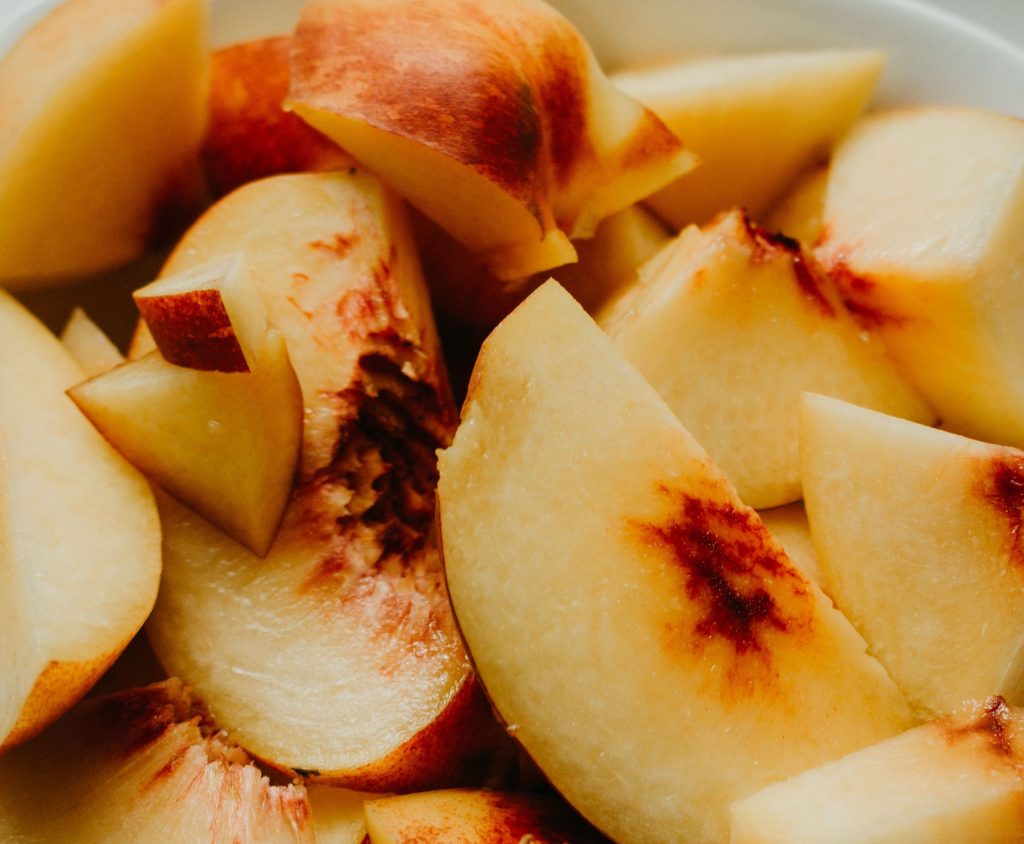
Once the peach is halved and pitted, place each half cut side down on the board. The flat side gives you stability, and the skin holds the flesh together while you work. Slice down through the dome to make clean wedges of any thickness you like. For dice, turn the wedges and cross cut them into chunks.
If you prefer to slice before separating, there is an even neater trick. After the first pole to pole cut, keep rotating the whole peach and make five or six more cuts around it, like spokes on a wheel, each one meeting the pit. Then twist each wedge free one at a time. Ripe freestones release perfect segments this way with zero mess.
Work over the cutting board, not over a bowl in your hand. Handheld cutting is how thumbs get nicked and juice gets everywhere. A board with a slight juice groove catches the drips for you. Pour those collected juices over the finished fruit; they are pure flavor.
Handling a Stubborn Peach Without Making a Mess
Even with good technique, some peaches fight back. Clingstones, slightly underripe fruit, and extremely soft peaches each require an adjustment rather than brute force. Forcing a twist on the wrong peach is exactly how you end up with mangled halves and a slippery pit shooting across the counter. A few backup moves handle every difficult case. These are the fixes I reach for most.
Cutting a Clingstone Peach Without Making a Mess
When the twist fails, stop twisting; the peach is telling you the flesh will not release. Instead, cut wedges directly off the pit. Slice down alongside the pit on four sides, the same way you cut the cheeks off a mango. You will get four clean, generous pieces and a squarish core to nibble over the sink.
Another option is the spoon assist. After the pole to pole cut, work a sturdy teaspoon into the seam against the pit and lever gently around it. The spoon separates flesh from pit with less tearing than a knife tip. It feels clumsy the first time and natural forever after.
Accept that clingstone pieces will look rustic, and plan accordingly. Rough chunks disappear beautifully into cobblers, smoothies, and salsas. Save your picture perfect slices for freestones. Matching the peach to the job is half the skill.
Cutting a Very Ripe Peach Without Making a Mess
Dead ripe peaches bruise if you look at them wrong, so chill them first. Thirty minutes in the refrigerator firms the flesh enough to take a knife cleanly. Cold fruit slices where room temperature fruit smears. This one habit saves the softest, sweetest peaches of August.
Switch to the serrated knife and let the blade do all the work. Use a gentle sawing motion with almost no downward pressure. Pressing down is what squirts juice and flattens the fruit. Sharp teeth and patience keep the slices intact.
If the peach is truly at the edge, embrace it instead of fighting it. Peaches that soft want to be crushed into sauce, blended into drinks, or spooned over ice cream. Click here for my five minute peach sauce recipe when you have a few in that state. There is no shame in a peach too ripe to slice.
Peeling a Peach Without Making a Mess
Most peach jobs do not need peeling, and the skin adds color and holds slices together. Baking is the exception, since peach skin turns slippery and separates in pies and cobblers. When a recipe calls for peeled peaches, do not reach for a knife. Paring away the skin wastes flesh and makes a slick mess.
Blanching is the clean way, and it takes two minutes. Cut a shallow X in the bottom of each peach, lower them into boiling water for thirty seconds, then move them straight into ice water. The skins slip off with your fingers in one or two satisfying pulls. This is the same trick canners use on tomatoes.
Blanch before you cut, not after. Whole peeled peaches are easier to handle than slippery slices. Once peeled, follow the same seam cut and twist as always. The pit releases the same way with or without skin.
Enjoying Perfectly Cut Peaches All Summer Long
Clean cutting is the gateway to actually using peaches everywhere, because prep stops being a chore. July and August bring the best stone fruit of the year, and a good knife path lets you move through a whole basket in minutes. Cut peaches do need a little care after slicing. Here is how I store them, keep them pretty, and put them to work.
Keeping Cut Peaches Fresh Without the Mess
Cut peaches brown quickly once air hits the flesh. A squeeze of lemon juice tossed over the slices slows browning for hours. The acid also brightens the flavor, so nothing is lost.
Store slices in an airtight container in the refrigerator. They hold well for about three days. Pour any accumulated juice over yogurt or into sparkling water instead of dumping it.
For longer storage, freeze slices in a single layer on a sheet pan first. Once solid, bag them flat and label the bag. Frozen peaches keep their shape for smoothies and baking all winter.
Serving Perfectly Cut Peach Slices in Summer Dishes
Clean wedges earn their place in savory dishes, not just dessert. Peach slices belong next to grilled pork, over burrata with basil, or tossed into a green salad with a sharp vinaigrette. Sweet fruit against salty cheese or char is a summer signature.
Grilled peaches are the fastest showstopper I know. Halve and pit them, brush the cut side with a little oil, and grill face down for three minutes. Click here for my grilled peaches with honey and burrata recipe for the full method.
For dessert, clean slices make simple things look intentional. Fan them over pound cake, shingle them across a tart, or pile them on vanilla ice cream. Neat cuts do the decorating for you.
Buying and Ripening Peaches for Clean Cutting All Season
Buy peaches in small amounts every few days at peak season. They go from firm to fragile fast, and a mixed basket ripens unevenly. Choose fruit that smells like peach at the stem end.
Ripen firm peaches on the counter, stem side down, out of direct sun. A paper bag speeds things up by trapping natural ethylene. Check daily, because the window is short.
Refrigerate peaches only after they reach full ripeness. Cold stops the ripening clock and buys you two or three extra days. Pull them out an hour before eating; a cool peach tastes better than a cold one.